Other Articles
Security Roles
The Security Roles section in Kawach defines who can access what within the platform. It ensures that users are granted permissions based on their job responsibilities, following the principle of least privilege — meaning users only get access to what they truly need.
This structured access control strengthens:
- Data confidentiality
- System integrity
- Accountability and traceability
- Compliance with ISO 27001, SOC 2, and other standards
- Audit readiness
Clearly defined security roles prevent unauthorized access, reduce internal risks, and ensure smooth operational governance.
How to Create a Security Role
Follow these steps to assign access appropriately:
Step 1: Click on Create
Navigate to the Security Roles section and click the Create button to initiate a new role assignment.
Step 2: Select the Role
Choose the appropriate role based on the user’s responsibility.
Examples of roles may include:
- Admin
- Compliance Manager
- Risk Owner
- Auditor
- Department User
- Viewer (Read-only access)
Each role comes with predefined permissions such as:
- View access
- Edit/Modify access
- Approval rights
- Report generation
- Administrative controls
Select the role that aligns with the user's functional responsibility.
Step 3: Assign the Person to the Role
Select the specific user from the system and assign them to the chosen role.
This step ensures:
- Clear ownership
- Defined accountability
- Proper segregation of duties
- Traceable activity logs
Multiple users can be assigned to the same role if required.
Step 4: Click Submit
After reviewing the selected role and assigned user, click Submit to confirm.
The system will then:
- Activate the assigned permissions
- Update access rights immediately
- Record the action in logs for audit tracking
This ensures the right users have the right level of access and responsibility.
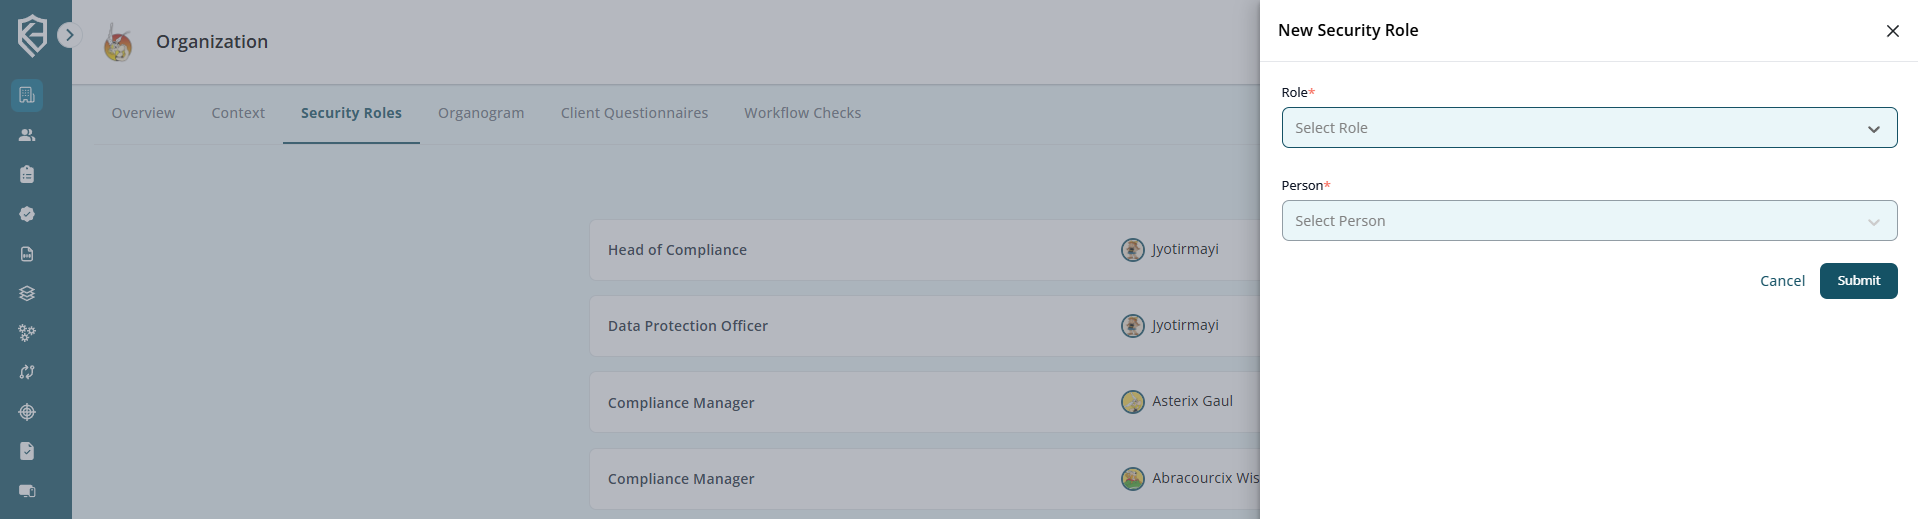
Security Roles page with “Create” button visible.